THE ARTISTRY OF BATIKS
VICTORIA CALDWELL
Aug 12th 2022

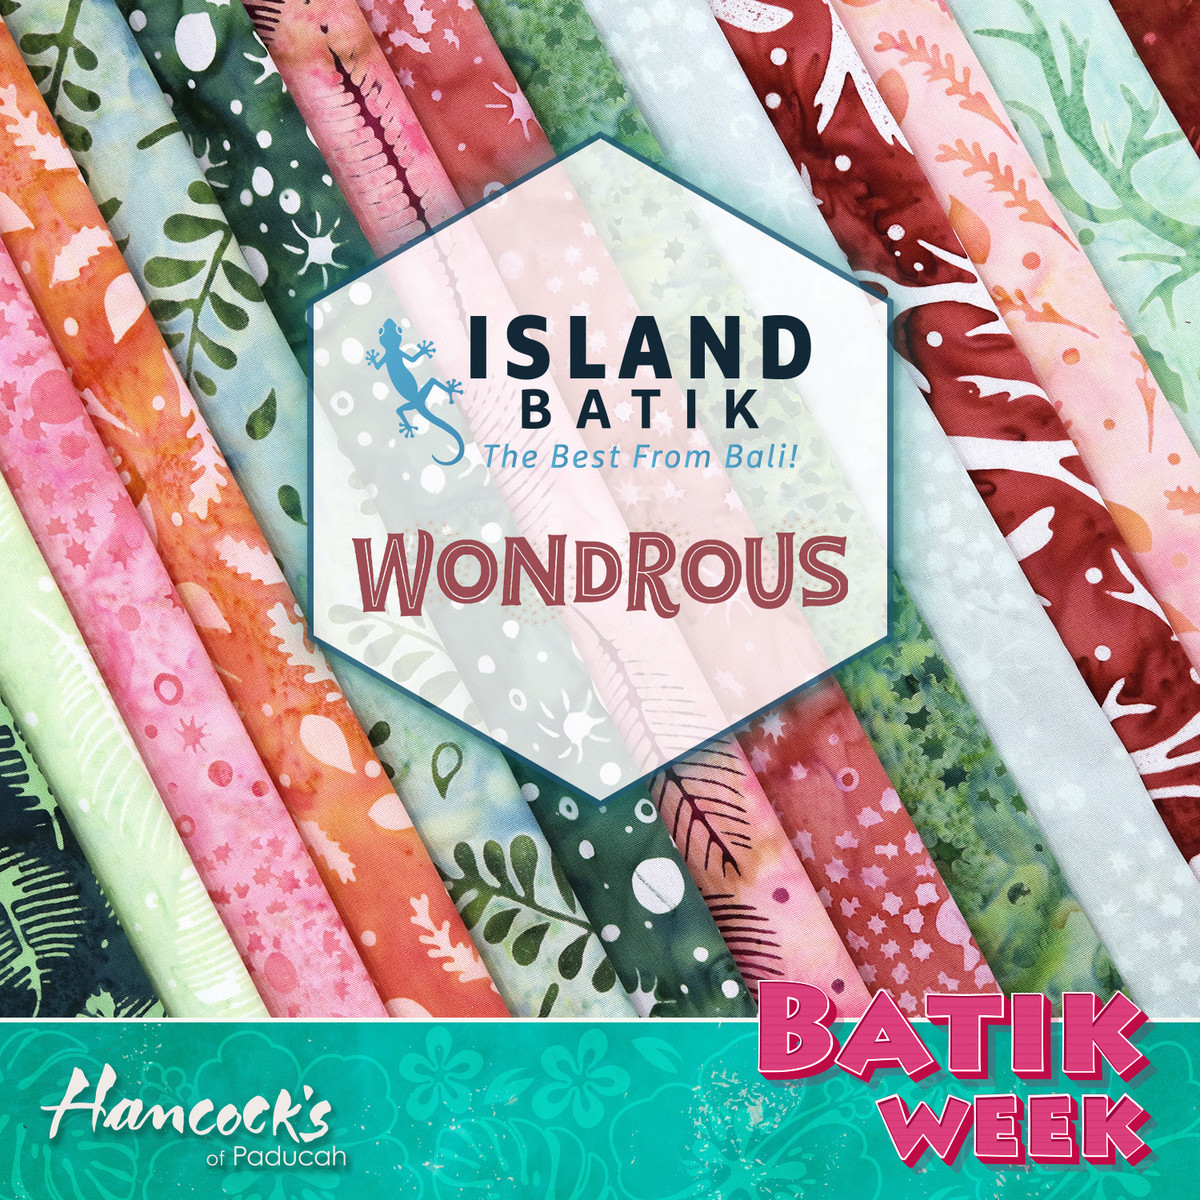
Hi! What a thrill to be guest-blogging for Hancock’s of Paducah! My name is Jennifer and I am The Inquiring Quilter. I’ve been an Island Batik Ambassador for six years. I love Island Batiks and I’m so excited today to share with you all the artistry that goes into making them.
Did you know that batiks are hand dyed using a wax-resist method that dates back centuries? Even so, modern batiks such as Island Batiks are as colorfast as any other quilting cotton and perfectly suited for use in quilts, clothing, handbags, and similar projects.
Today, fabric companies employ modern methods to create batiks using this ancient art.
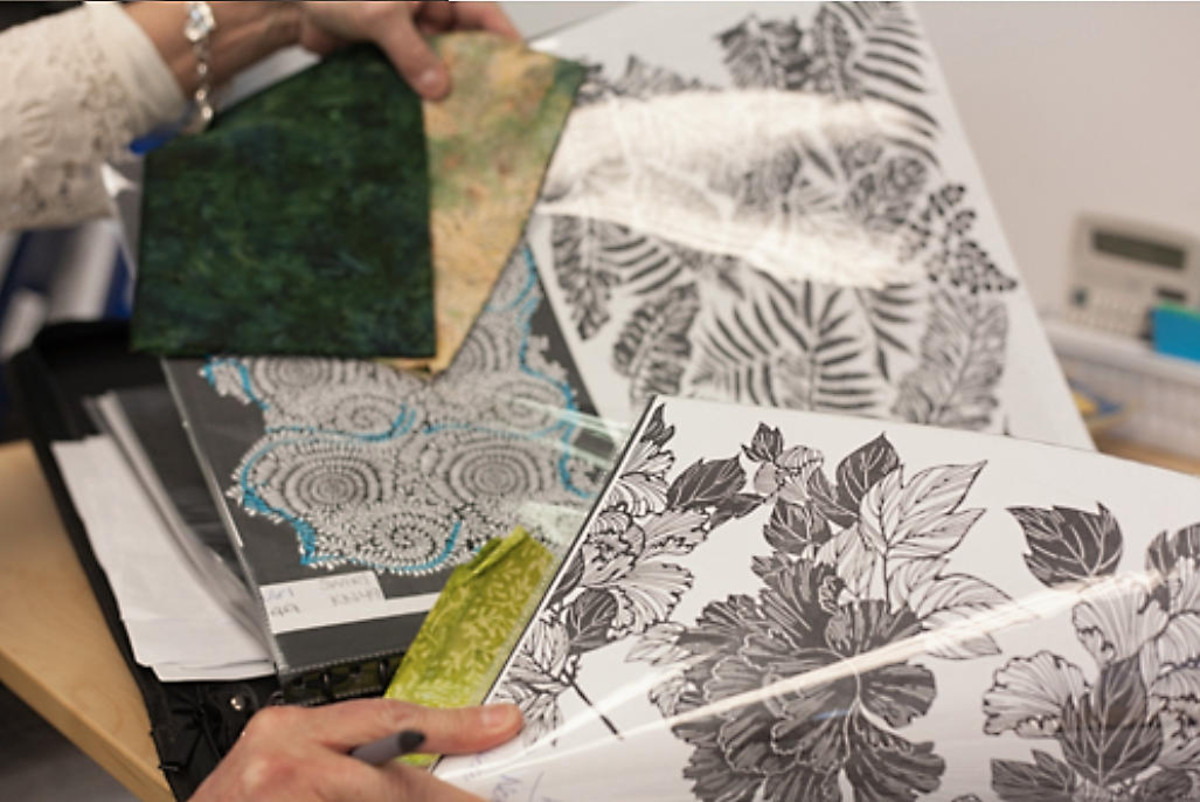
Island Batiks start with designs that are created by hand or by computer. The designs are then perfected by the Island Batik design team until a complete collection is born.
Once the artwork for a collection is approved, it is rendered in black and white to indicate to the batik artisans where the wax should be applied. Wherever wax is placed on the fabric, the dye will not penetrate. The Island Batik design team curates the colors to be used for the background and the pattern for each fabric in a collection and sends that information to the dying team.

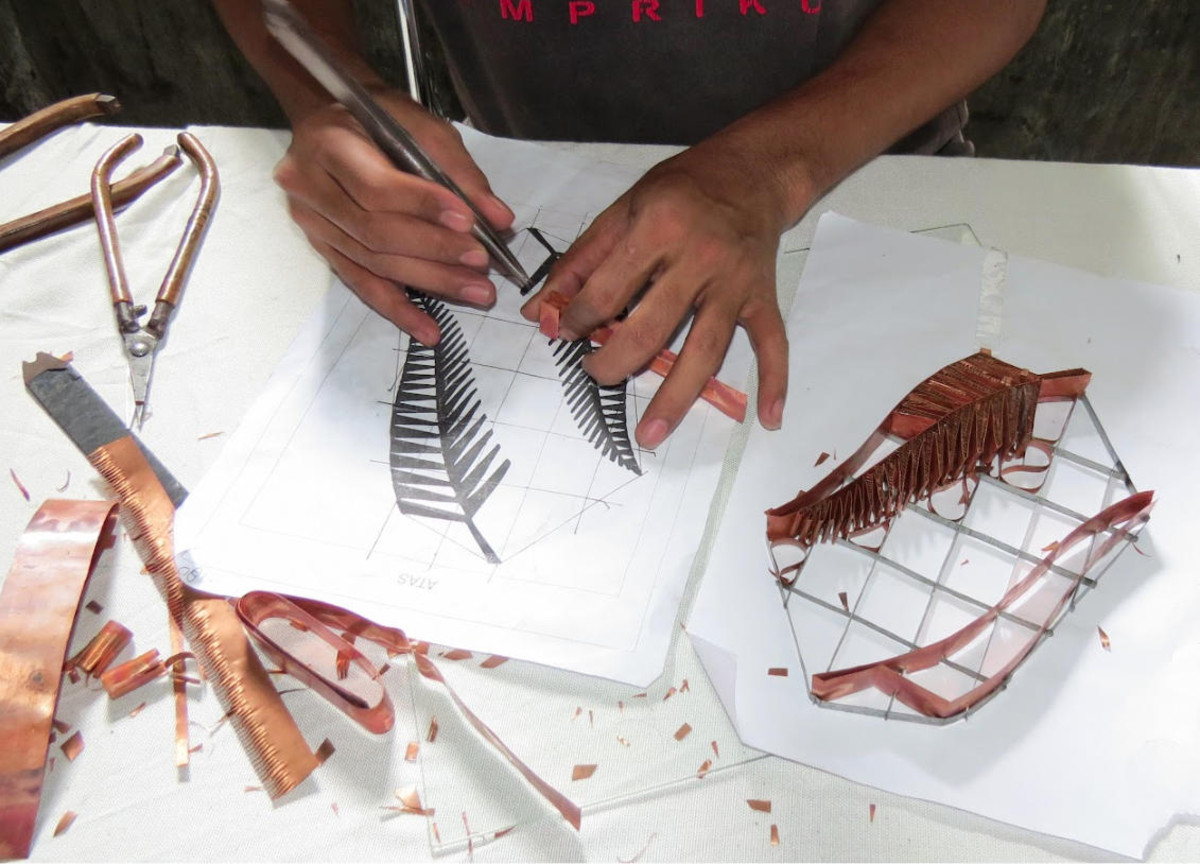
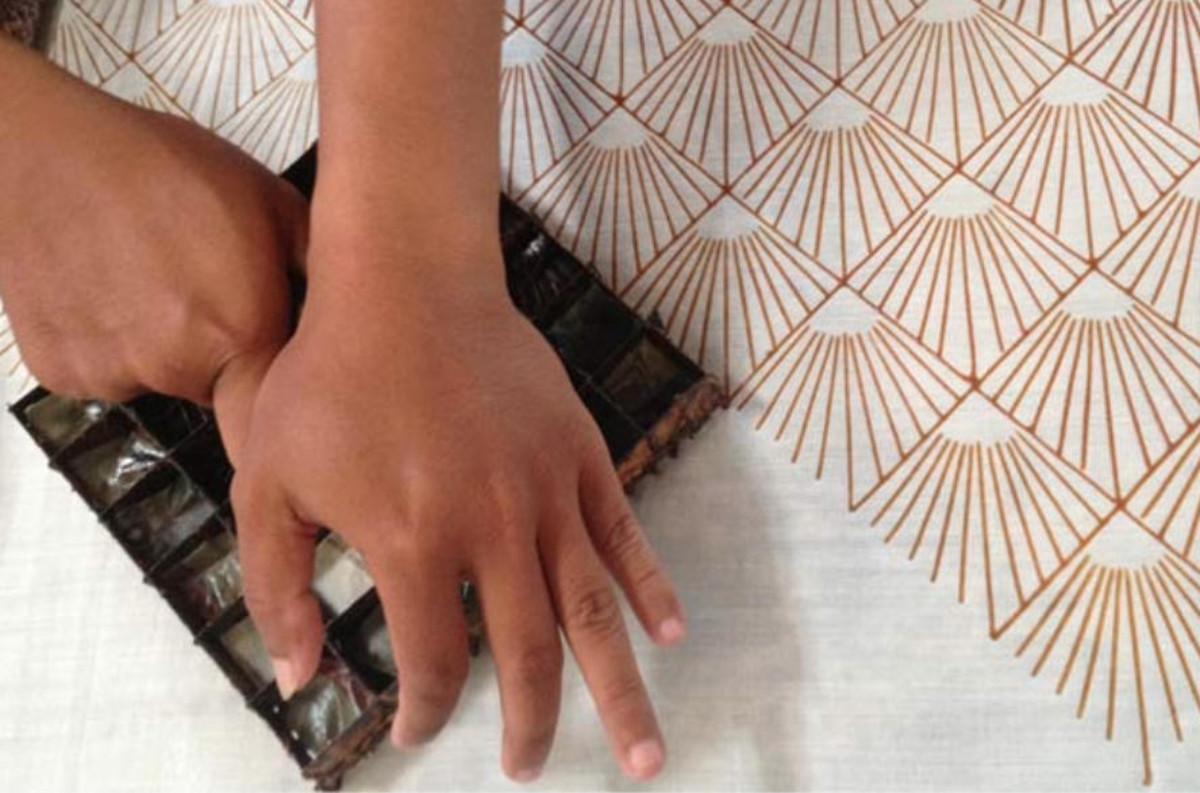
The artwork is used by Island Batik artisans to create a stamp or tjap (chop). The tjap is made from strips of copper that are twisted and shaped into the pattern needed. The copper helps the keep the wax liquid so the design can be stamped all over the cloth before it hardens.
Once the tjap is made, the dying process can begin! Every quilting cotton starts with a base cloth. The base cloth is called the greige (gray) goods and in the case of batiks, the greige goods used are the highest thread count available because the batiking process is hard on the cloth. The greige goods start out white and then are dyed the base color required for the design.
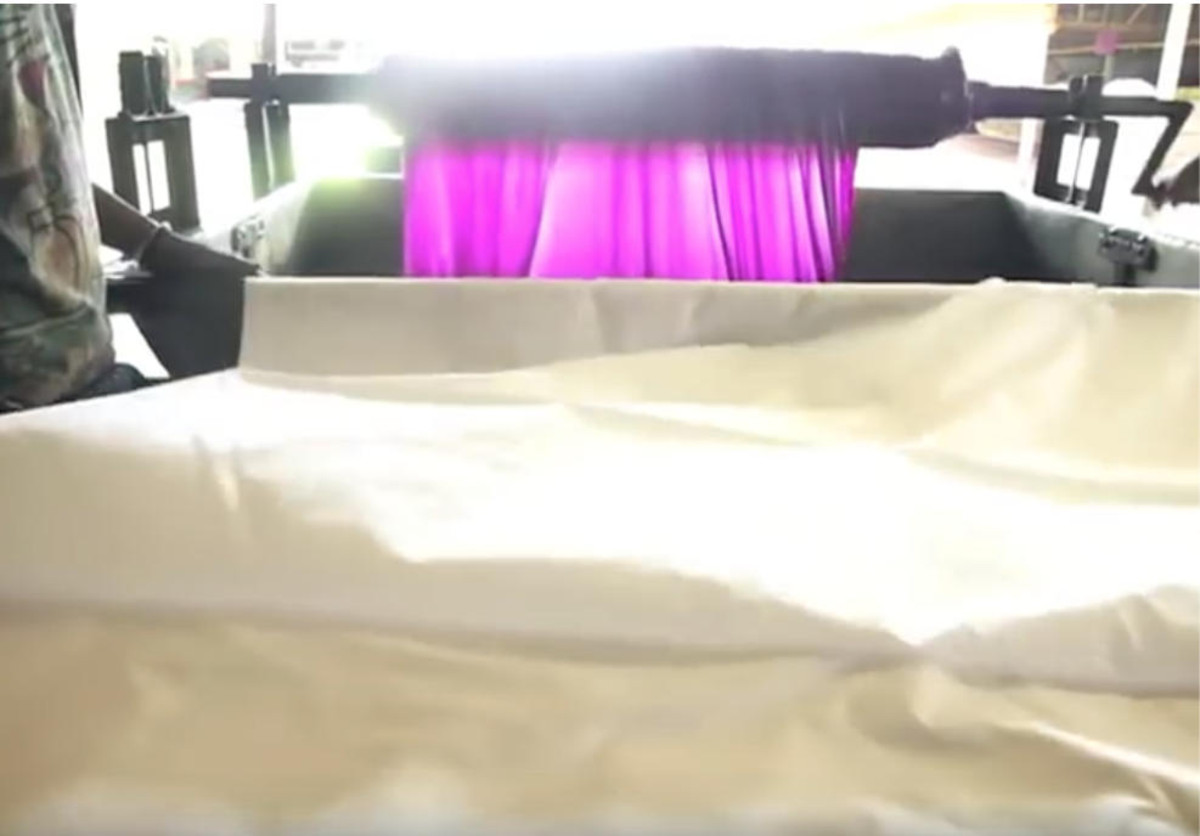
The Island Batik process starts with the lightest color dye required by the design. Wax is applied first which allows the Island Batik artisans to control exactly where the dye will color the fabric. Remember, wherever the wax is applied, the dye will not penetrate.
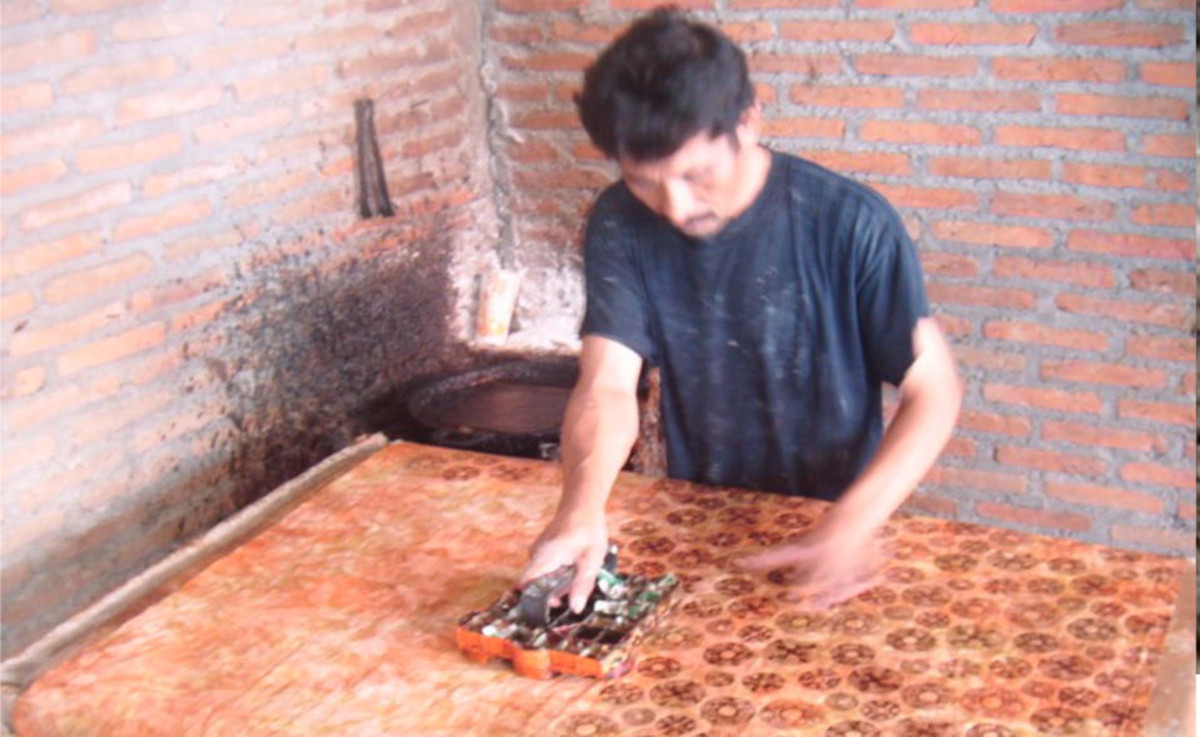
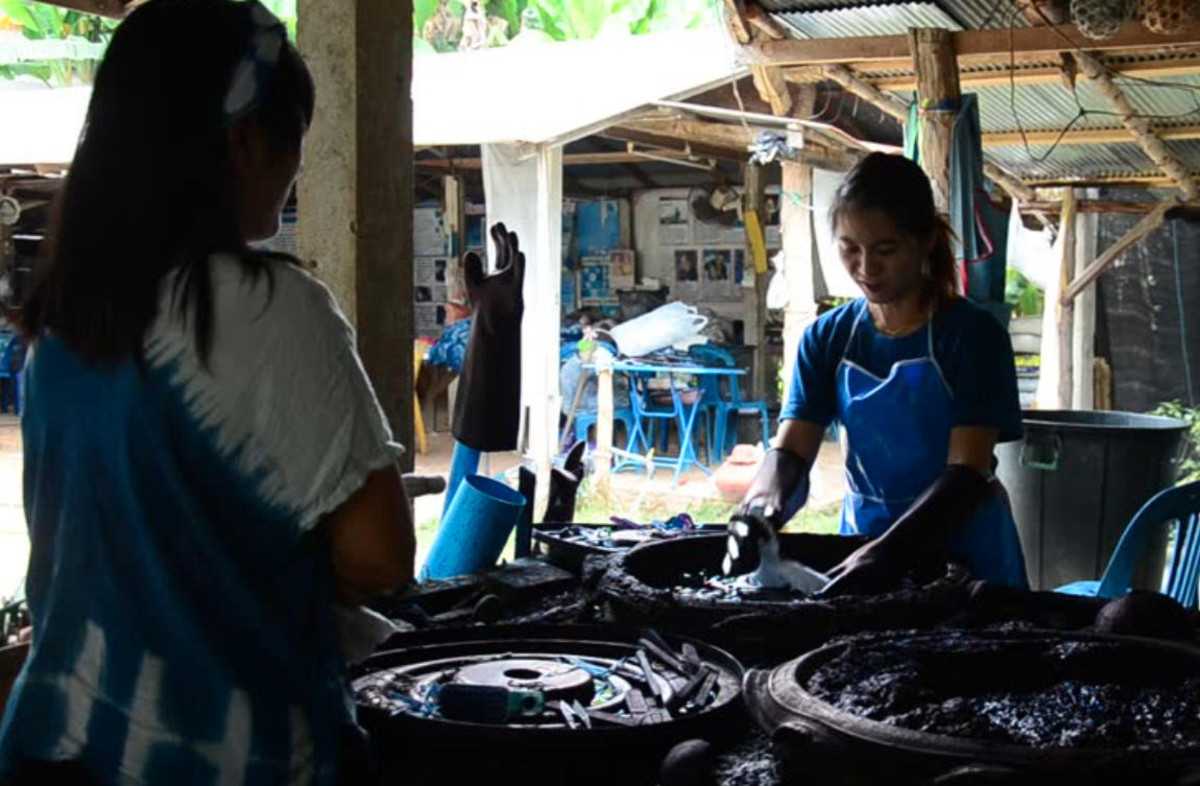
After the fabric is dyed, the wax is removed with boiling water. This process--wax then resist dying--is repeated as needed to add more colors and create the finished batik. Batiks often have several colors but typically no more than four. Limiting the amount of dying that’s done produces not only a harmonious design but also a finished cloth that is both soft and strong.
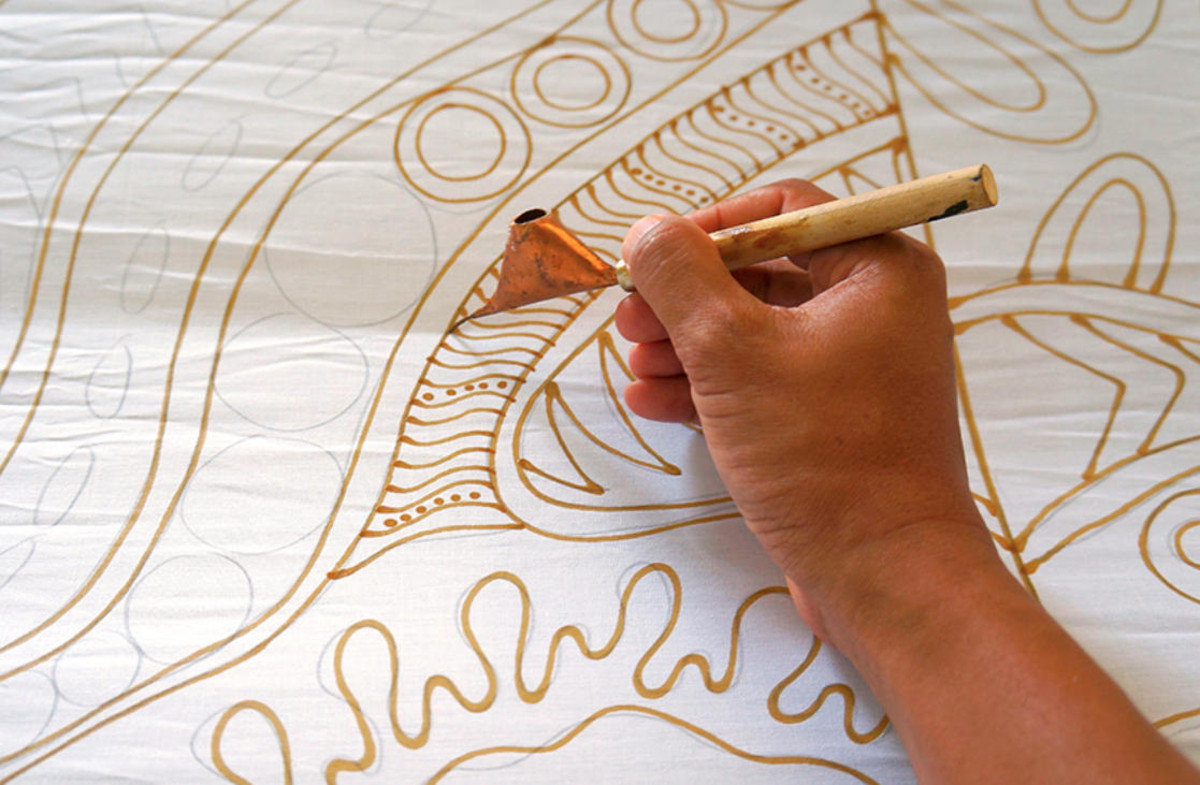
The process of applying the wax is the most difficult part of batiking fabric. Wax can be hand drawn on the cloth using a canting (a type of wax “pen” with a spout at one end), but most often it is stamped using a tjap.
The wax recipe is often a guarded secret. The temperature of the wax has to be just right. The amount of wax on the tjap has to be exact so as to avoid blotches and loss of definition in the design. In addition, the wax has to be applied fast to the cloth so it doesn’t harden. With some designs, the tjaps must be applied in exact rows and columns---this is probably the most difficult part.
After the wax is applied, the fabric is dyed and the wax removed in a hot water bath. With Island Batiks, soda ash is then applied to the fabric to enhance its color. That’s what makes Island Batiks so vibrant! The fabric is then laid on the grass outside in the sun to dry. Using grass rather than concrete allows the fabric to dry slowly, which sets the color naturally (and more strongly) and preshrinks the fabric ever so gently.
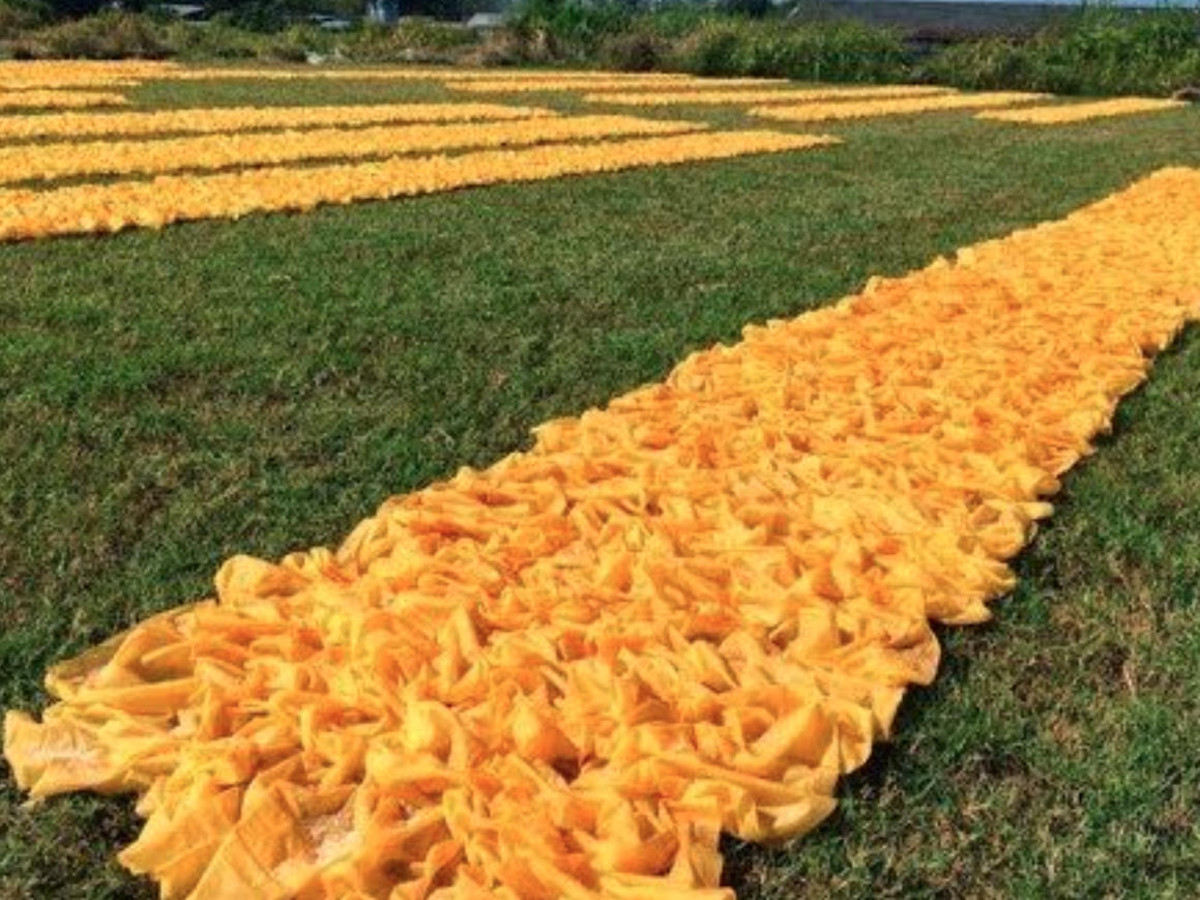
Again, the wax-resist dying process is repeated until the final design is achieved. The fabric is dried and then hung up and inspected. Sometimes a spot is missed and dye is applied by hand to ensure that every inch of the fabric is dyed with lovely color.
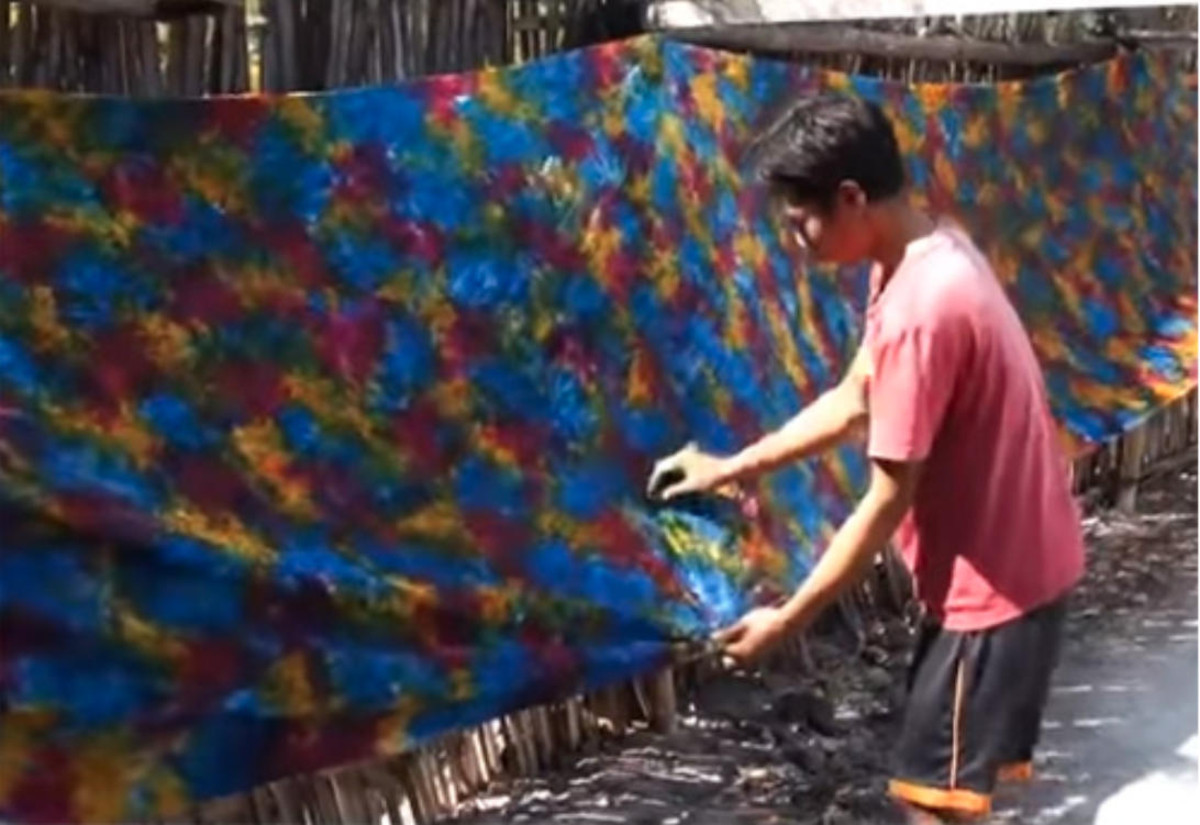
Island Batiks are then folded and wrapped onto a cardboard bolt by hand. The bolts are then shipped in large containers to the US for distribution to quilt shops like Hancock’s of Paducah, where the batiks are then sold to quilters like you!
Thanks for reading! Would you like to know more about batiks and how to use them in your quilts? Watch my videos on YouTube:
Part 2 is full of my best tips and techniques for sewing with batiks.
Be sure to visit me online at https://www.inquiringquilter.com/ and subscribe to my newsletter. I share lots of batik project ideas and I have regular giveaways of batiks. Yep, I’m batik-crazy, and I’ll make you crazy for batiks too!
Photo credits for all batik process images: Jerry Khiev, Island Batik

